
 8 min read


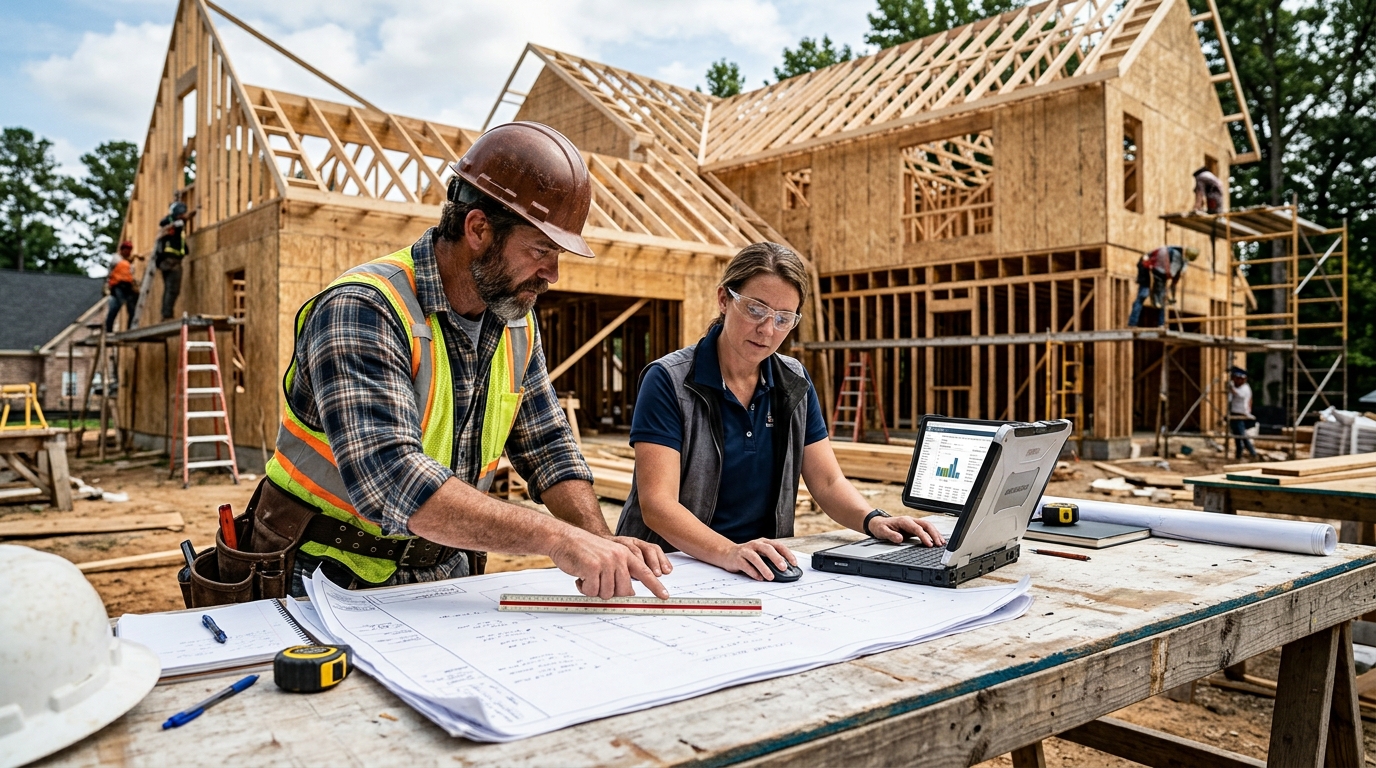

What Should a Framing Takeoff Include? A Contractor’s Review Checklist
A framing takeoff should do more than give you a total lumber count. Before a bid goes out, a contractor needs to know whether the takeoff reflects the latest drawings, separates the major framing systems, includes special members and hardware, and gives enough detail to price and order materials without guessing.
Framing is full of small items that can create large cost differences. Studs and plates may be easy to spot, but headers, trimmers, rim boards, blocking, engineered lumber, sheathing, hangers, hold-downs, and revised structural notes are easier to miss. If those quantities are incomplete, the problem may appear later as a supplier change, material shortage, rushed purchase, or reduced margin.
Use this framing takeoff checklist as a practical review before pricing a residential, multifamily, or light-commercial framing scope.
What Is a Framing Takeoff?
A framing takeoff is an itemized measurement and count of the materials required to build the structural framing shown in the project documents. Depending on the project, it may include dimensional lumber, engineered wood, wall framing, floor systems, roof framing, sheathing, blocking, connectors, and other rough-carpentry materials.
A takeoff is not automatically the same as a complete cost estimate. The takeoff establishes quantities. The estimate then applies material prices, labor, equipment, waste assumptions, overhead, and other pricing inputs.
For contractors, the best takeoff is one that can be traced back to the drawings and reviewed before the numbers are turned into a bid.
1. Confirm the Drawing Set Before Reviewing Quantities
Start with document control. A perfectly measured takeoff can still be wrong if it was prepared from an outdated set.
Confirm that the estimator used the latest available:
- Architectural floor plans and elevations
- Structural and framing plans
- Wall and building sections
- Roof and floor framing plans
- Door and window schedules
- Structural details and schedules
- Specifications
- Addenda and revised sheets
Compare drawing dates and revisions with the files used for the takeoff. If an addendum changed wall construction, beam sizes, opening dimensions, or the roof layout, those revisions need to appear in the quantities.
A good review package should also state the drawing set date.
2. Check Wall Framing by Wall Type
Wall framing should not be presented as one combined lumber total. Exterior walls, bearing walls, non-bearing partitions, shear walls, pony walls, and specialty assemblies may use different members, spacing, grades, or sheathing.
Review the takeoff for:
- Stud size, length, and spacing
- Bottom or sill plates
- Single or double top plates
- Corner and intersection framing
- King studs
- Jack or trimmer studs
- Cripple studs
- Blocking and backing
- Wall-specific sheathing
Ask one simple question: can you identify which quantity belongs to which wall type? If not, supplier pricing and field verification become harder.
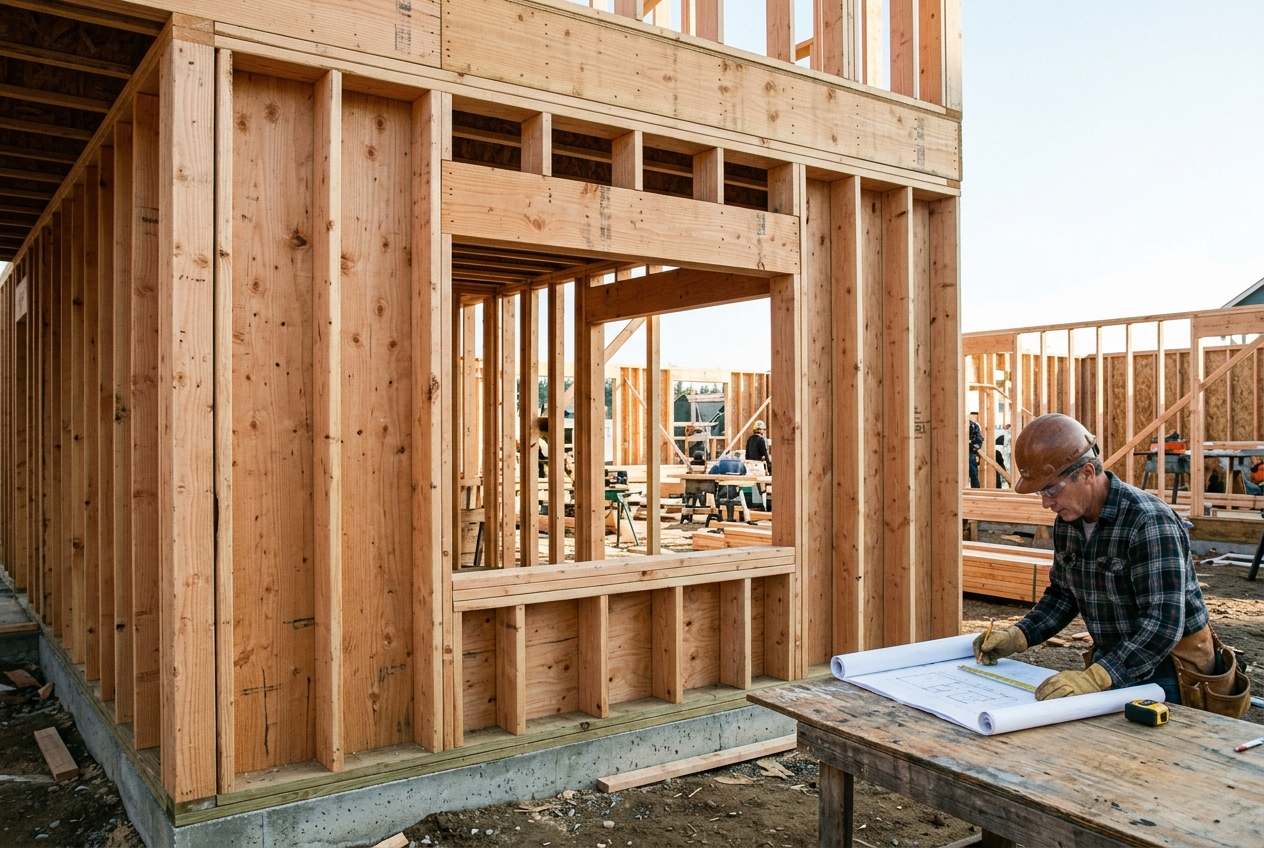
3. Verify Doors, Windows, Headers, and Other Openings
Openings are one of the easiest places for a framing takeoff to become incomplete.
Every door and window can affect the stud count and may require headers, king studs, trimmers, cripples, sill members, or additional structural framing. Large openings may use engineered lumber rather than standard dimensional lumber.
Cross-check the floor plans, elevations, opening schedules, and structural header schedule. Do not assume all openings with similar widths use the same header.
The takeoff should identify header size, material, quantity, and preferably the associated location when the plans provide it.
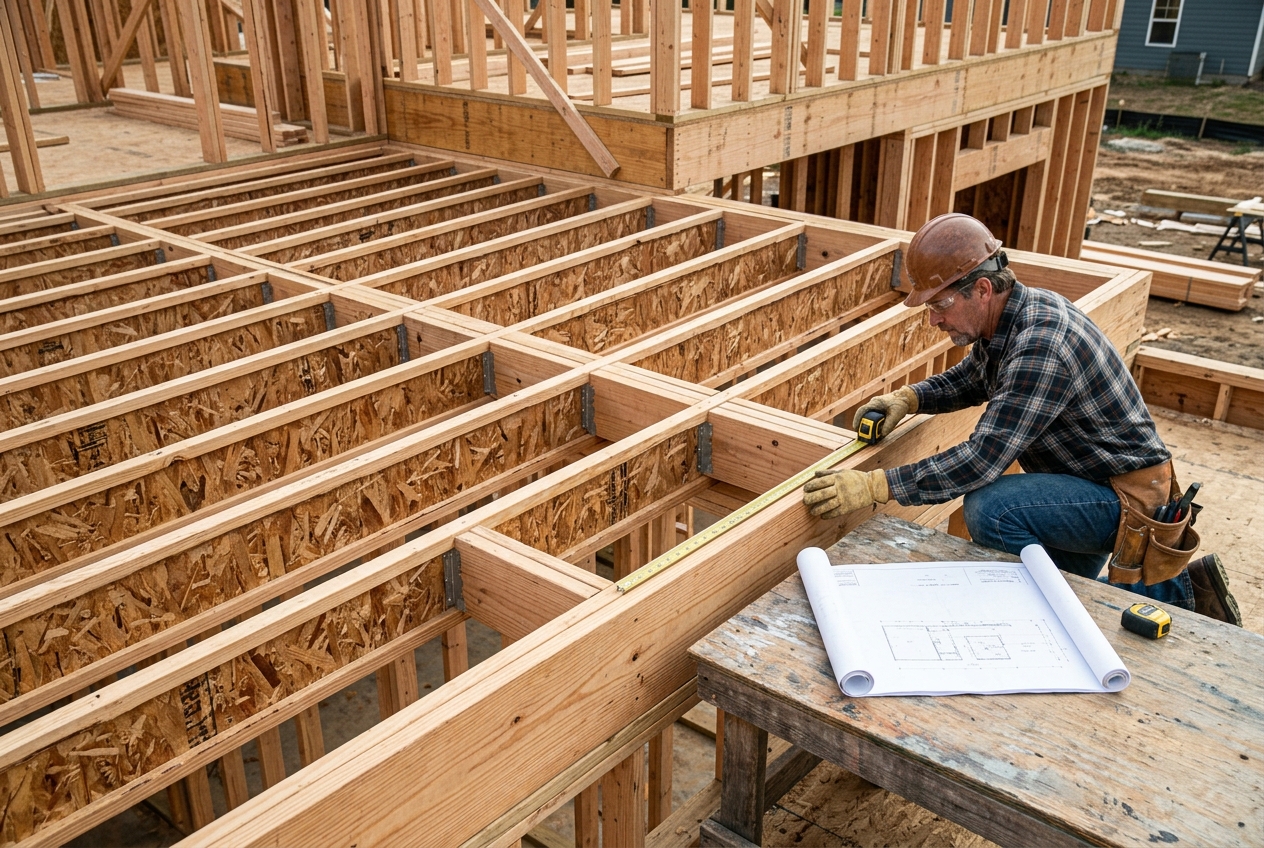
4. Review Floor Framing as a Separate System
For framed floors, confirm that the takeoff covers more than the joists themselves.
Typical floor-framing items include:
- Dimensional or engineered floor joists
- I-joists
- Rim boards or band joists
- Beams and girders
- Posts
- Blocking or bridging
- Hangers and connectors
- Subfloor sheathing
Check member size, spacing, span direction, and framing changes around stairs, shafts, fireplaces, dropped areas, or large penetrations.
If the drawings show doubled joists, trimmer joists, transfer beams, or concentrated-load framing, these should appear as separate quantities rather than disappear inside a general allowance.
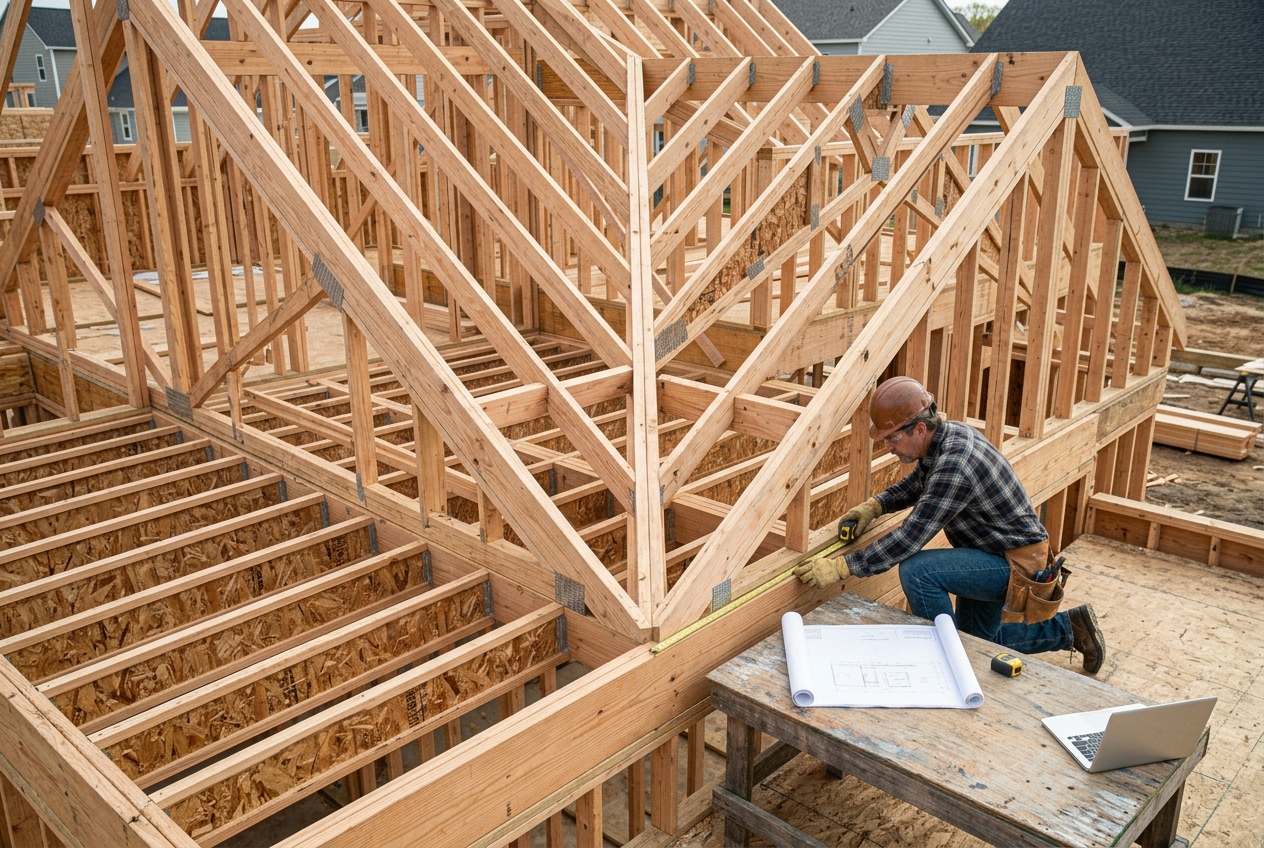
5. Review Roof Framing Member by Member
Roof framing can be simple on a basic truss roof and much more complex on projects with intersecting roof planes, dormers, valleys, or vaulted areas.
Depending on the design, review for:
- Common rafters
- Hip and valley rafters
- Ridge boards or ridge beams
- Ceiling joists
- Roof and girder trusses
- Lookouts and outriggers
- Blocking
- Roof beams and posts
- Hangers, straps, and clips
- Roof sheathing
A contractor should be able to see what is trussed, what is stick-framed, and where special structural members occur.
6. Confirm Engineered Wood Products Are Identified Correctly
Engineered wood products can carry much higher unit costs than standard dimensional lumber, so vague descriptions can create pricing errors.
Look for separate line items for:
- LVL beams and headers
- Glulam beams
- PSL or LSL members
- I-joists
- Rim board
- Engineered posts where specified
The takeoff should match the drawings for member depth, width, ply count, length, and product designation where provided. If a manufacturer, series, grade, or performance requirement is specified, it should not be replaced by a generic “engineered lumber” description.
7. Check Wall, Floor, and Roof Sheathing Separately
Sheathing should be broken down by application because panel thickness, grade, edge treatment, and fastening requirements can differ.
Review wall sheathing, subfloor, and roof sheathing as separate categories. Quantities are typically measured by area and converted into purchase quantities using the specified panel size and an appropriate project-specific waste allowance.
Pay attention to changes in panel type at shear walls, exterior assemblies, roof zones, or specialty floor areas. Also verify whether clips, adhesive, blocking, or edge support are part of the framing contractor’s scope.
8. Do Not Ignore Hardware and Connections
A lumber-only takeoff may not be a complete framing takeoff.
Depending on the contract scope and drawings, hardware can include:
- Joist or beam hangers
- Post bases and caps
- Hold-downs
- Straps and ties
- Framing anchors
- Hurricane clips
- Anchor bolts
- Structural screws and fasteners
Use the structural details, schedules, general notes, and manufacturer callouts shown in the documents. Avoid relying on a flat allowance when the plans provide countable connectors.
For hardware-intensive projects, organize connectors by type and model so supplier quotations can be compared line by line.
9. Review Blocking, Backing, and Small Repetitive Items
Many takeoffs capture the primary structure but lose accuracy in repetitive secondary framing.
Check for backing at cabinets, railings, wall-mounted equipment, bathroom accessories, and other locations when it is part of the framing scope. Review roof and floor blocking, shear-wall boundary blocking, fire blocking, nailers, furring, curbs, and other rough-carpentry items shown in the documents.
These materials may look minor individually, but repeated across a project they can become a meaningful quantity.
10. Separate Net Quantities From Waste
A useful framing takeoff should make the base measured quantity visible before waste is added.
Waste is not the same for every material. Stud stock, long beams, sheathing panels, blocking, and engineered members have different cutting and ordering considerations. Project geometry, available stock lengths, supplier packaging, and crew practices can also change the appropriate allowance.
Instead of hiding waste inside the measured quantity, show:
- Net takeoff quantity
- Waste or ordering allowance
- Final purchase quantity
That makes the number easier to review and adjust without redoing the takeoff.
11. Confirm Units, Sizes, Lengths, and Locations
Before pricing, scan the takeoff for inconsistent units. Lumber may be listed by piece count or linear feet, while sheathing is often measured by square feet and purchased by panel count. Hardware is typically counted individually.
Each line should provide enough information to price the correct material. Review the material description, size, length where relevant, quantity, unit, building location, and drawing reference when available.
A quantity without a clear size or unit is not bid-ready.
12. Run a Final Scope and Traceability Review
The final check is a scope-control pass.
Pick several important quantities and trace them back to the plans. Verify an exterior wall type, a major beam, a large opening, a floor-framing zone, a roof condition, and a connector detail. Drawing references or color-coded markups make this much faster.
Also confirm that assumptions, exclusions, alternates, allowances, and unresolved questions are listed separately. These notes prevent design gaps from being silently turned into estimating assumptions.

Common Framing Takeoff Items Contractors Miss
Before approving the takeoff, specifically look for:
- Extra studs at corners and wall intersections
- King studs, trimmers, cripples, and sills at openings
- Double or built-up top plates
- Headers that change by opening width or load
- Rim boards and blocking
- Doubled joists and framing around openings
- Engineered beams and special posts
- Shear-wall blocking and associated hardware
- Roof hips, valleys, girder trusses, and special rafters
- Hangers, straps, hold-downs, and anchors
- Differences between subfloor, wall, and roof sheathing
- Addendum changes and revised structural details
The goal is not simply to ask whether the total looks reasonable. It is to test whether the takeoff follows the actual construction scope.
What Should a Good Framing Takeoff Deliverable Look Like?
For bidding and procurement, a clean deliverable should be easy to audit. An Excel quantity sheet paired with marked-up drawings is often more useful than an unreferenced material list because the estimator, contractor, and supplier can follow quantities back to the plans.
A practical package may include material descriptions, sizes, quantities, units, building levels or areas, drawing references, assumptions, exclusions, waste allowances, and color-coded takeoff markups.
If your team does not have time to measure and review every framing package internally, professional framing estimating services can provide a structured takeoff and cost estimate for bid review. Outsourced quantities should still be transparent enough for your team to verify.
Final Framing Takeoff Review Checklist
Before you price or submit the bid, confirm that the takeoff:
- Uses the latest drawings and addenda
- Separates wall, floor, and roof framing
- Includes openings, headers, and special studs
- Captures dimensional and engineered lumber
- Includes sheathing by application
- Accounts for blocking and backing
- Identifies framing hardware and connectors
- Shows net quantities and waste separately
- Uses clear sizes, units, and descriptions
- Documents assumptions and exclusions
- Provides drawing references or marked-up plans
- Can be traced back to the project documents
A framing takeoff should give you more than a pile of quantities. It should give you a reviewable picture of the framing scope. When every major member, panel, connection, and assumption can be traced to the drawings, you can price the work with more confidence, compare supplier quotes more effectively, and reduce surprises after award.