 9 min read



How to Estimate Selective Demolition: Scope, Labor, Equipment, and Disposal
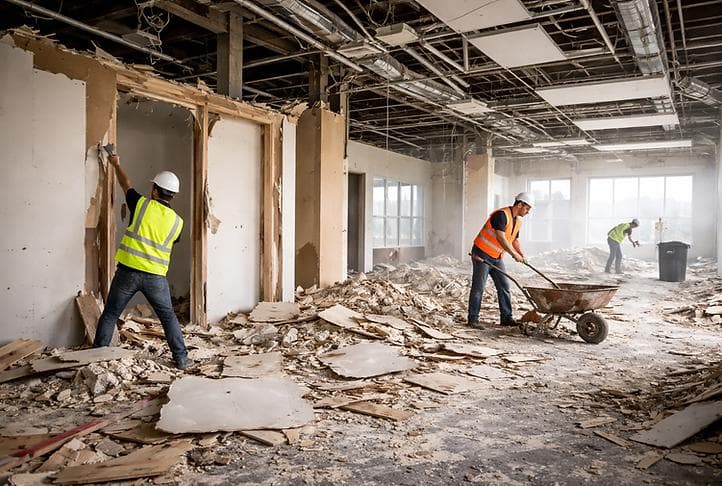
Selective demolition looks simple on a drawing: remove a wall, strip a ceiling, take out flooring, disconnect fixtures, and leave everything around it intact. In the field, however, selective demolition is easy to underestimate because the work is controlled rather than destructive. Crews may work around occupied areas, live utilities, retained finishes, restricted access, dust-control requirements, and tight debris routes.
A reliable selective demolition estimate should start with a clear scope, convert demolition drawings into measurable quantities, apply realistic labor productivity, identify required equipment and protection, and calculate hauling and disposal by material type. The estimate should also make assumptions, exclusions, and unknown conditions visible before the bid is submitted.
What Is Selective Demolition?
Selective demolition is the planned removal of specific building components while preserving the rest of the structure. It is common in commercial renovations, tenant improvements, remodels, adaptive reuse projects, and phased construction. Selective demolition is generally more labor-intensive and controlled than structural demolition because retained construction must remain undamaged.
Typical scope may include partitions, ceilings, flooring, doors and frames, casework, plumbing fixtures, lighting, ductwork, piping, equipment, concrete slabs, masonry walls, or isolated structural components. Unlike full-building demolition, the estimator must define both what is being removed and what is staying.
That distinction matters because retained construction creates cost. Existing finishes may need protection, utilities may require support or relocation, workers may need precise saw cuts, and debris may need to pass through corridors or elevators before reaching a dumpster.
Step 1: Define the Demolition Scope and Limits
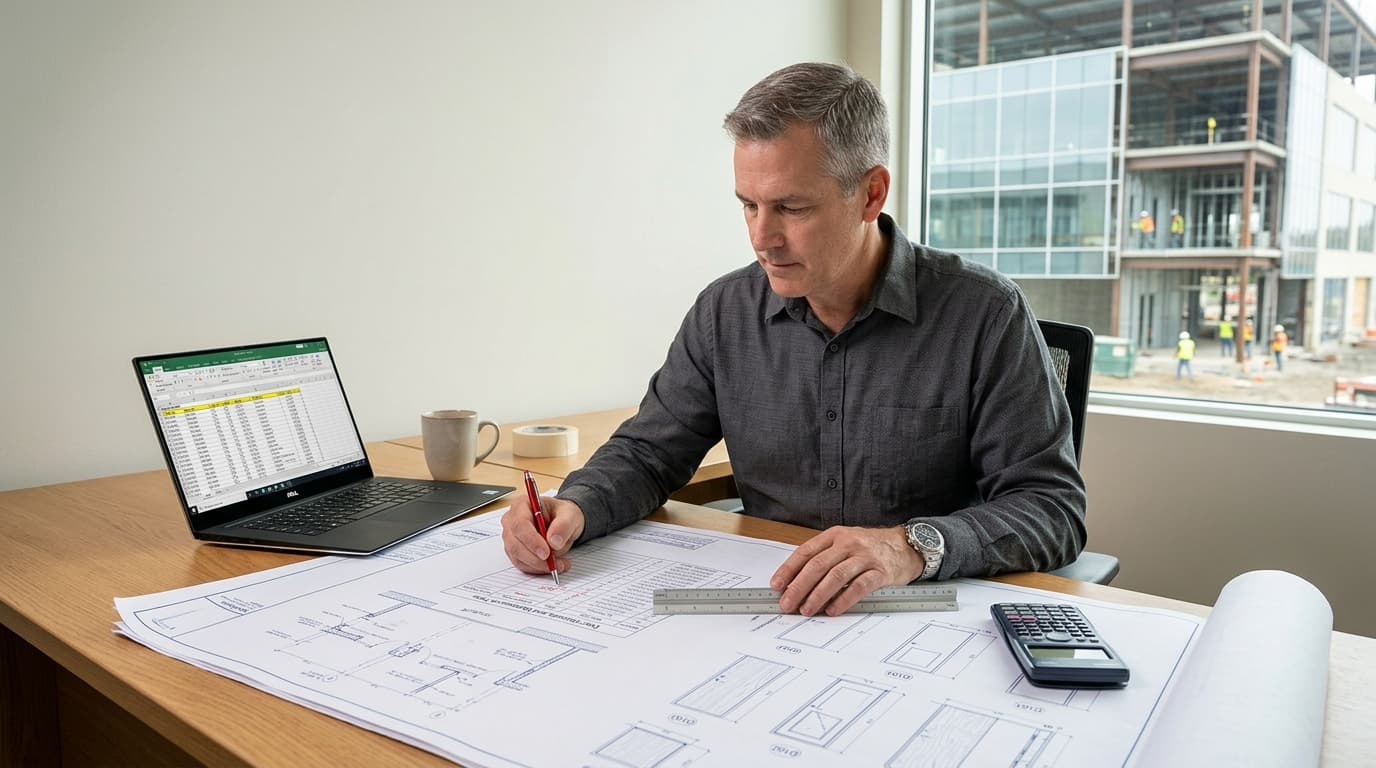
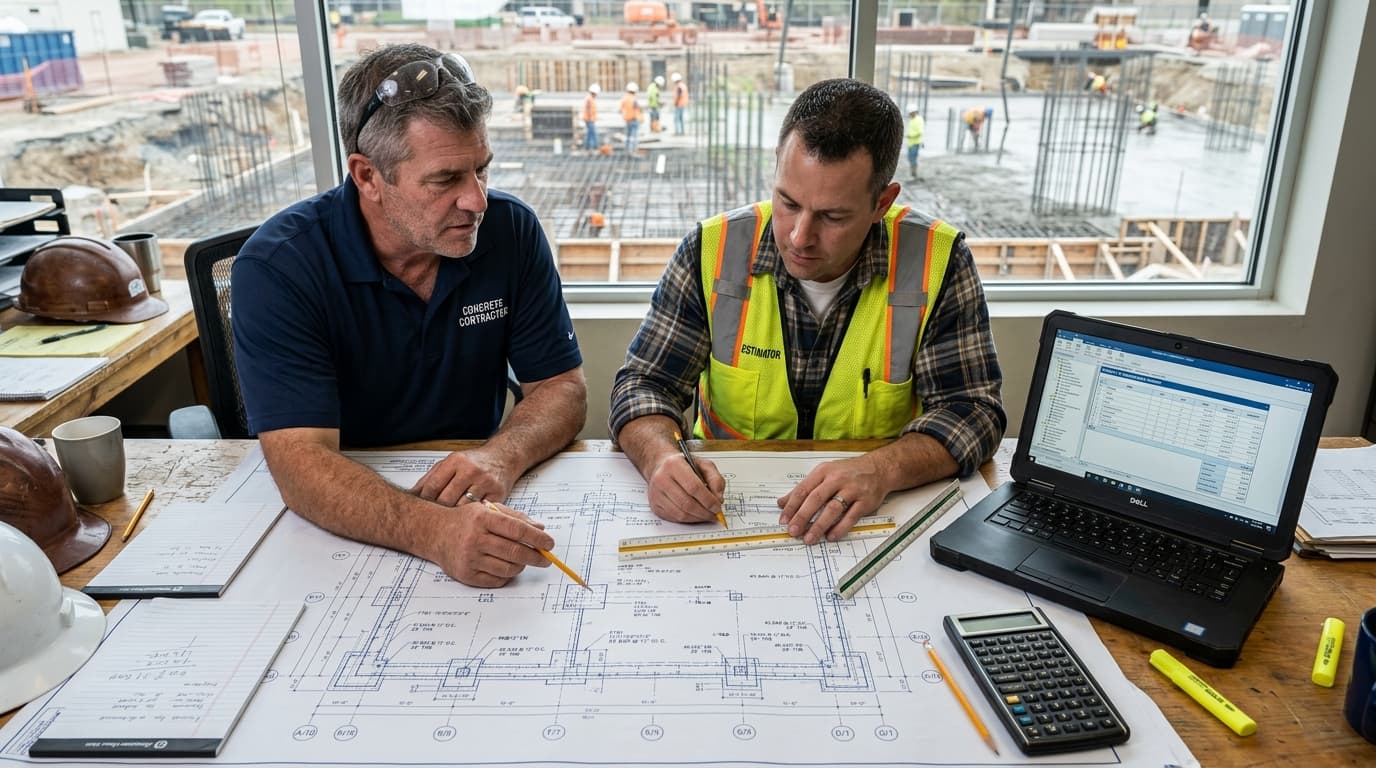
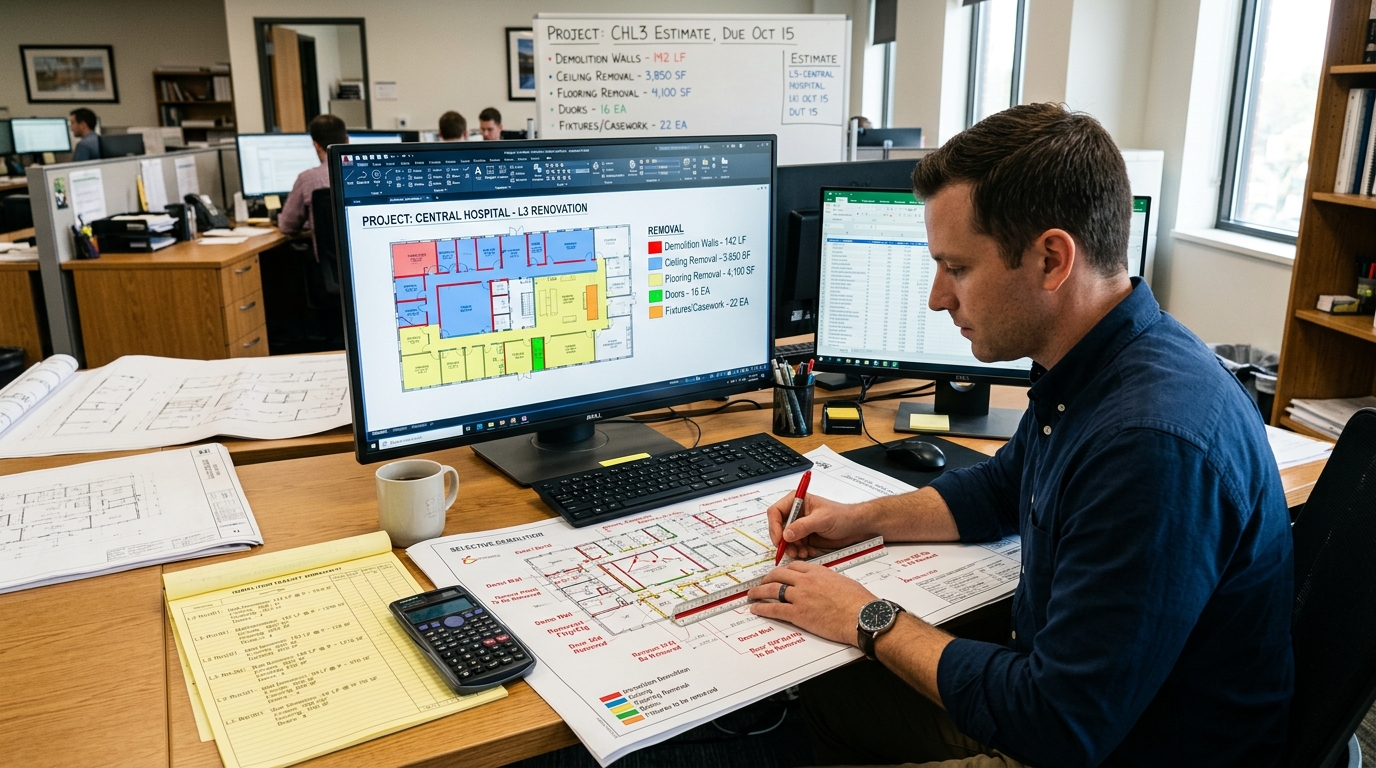
Review the complete bid package, not only the demolition plan. Compare architectural demolition drawings with existing-condition plans, reflected ceiling plans, structural drawings, MEP drawings, specifications, addenda, phasing notes, and hazardous-material reports. Mark each item as remove, remove and salvage, remove and reinstall, remain, or by others. Pay close attention to demolition boundaries where new construction connects to existing work.
Also identify protection requirements, temporary partitions, utility shutdowns, access restrictions, work-hour limits, elevator rules, loading-dock constraints, and required sequencing.
For U.S. demolition work, OSHA requires an engineering survey by a competent person before demolition operations begin to evaluate framing, floors, walls, and the potential for unplanned collapse. OSHA also requires utilities such as electric, gas, water, steam, and sewer services to be shut off, capped, or otherwise controlled before demolition begins. These requirements can affect planning and cost.
Step 2: Perform a Selective Demolition Takeoff
Once the scope is clear, measure each demolition item using the unit that best represents the work. Walls and partitions are commonly measured in linear feet or square feet. Flooring and ceilings are usually measured in square feet. Doors, fixtures, equipment, and accessories are counted individually. Concrete, masonry, and other heavy materials may require thickness, volume, or weight calculations because disposal is often driven by tonnage.
Do not combine different assemblies into one generic “interior demo” quantity. Removing 1,000 square feet of carpet is not equivalent to removing 1,000 square feet of tile over mortar, and a gypsum partition is not equivalent to reinforced masonry. A demolition takeoff should separate quantities by material, location, floor, phase, and removal method whenever those differences affect labor, equipment, hauling, or disposal.
Demolition itemTypical unitDrywall or stud partitions | LF or SF |
Flooring and ceilings | SF |
Doors, fixtures, casework, equipment | EA |
Concrete slabs and paving | SF, CY, or tons |
Masonry walls | SF or CY |
Piping, conduit, ductwork | LF |
Debris | CY, tons, loads, or dumpsters |
Step 3: Estimate Labor from Productivity
Selective demolition is usually labor intensive because crews must remove targeted components without damaging surrounding construction. Labor should therefore be estimated from production rates rather than a single cost-per-square-foot allowance.
The basic calculation is:
Labor hours = Quantity × labor hours per unit
Labor cost = Labor hours × burdened labor rate
Production should reflect the actual assembly and job conditions. A crew removing carpet in an open ground-floor space may work quickly. The same crew removing tile from an upper floor with limited elevator access, occupied spaces, and a long debris route will produce much less per hour.
Adjust labor for height, congestion, access, protection, hand carrying, sorting, salvage, after-hours work, cleanup, and supervision. Historical production data from completed jobs is especially useful because it reflects how your crews actually perform. Do not forget non-demolition labor such as layout, protection installation, spotters, dust-control maintenance, material sorting, loading, and final cleaning.
Step 4: Price the Required Equipment
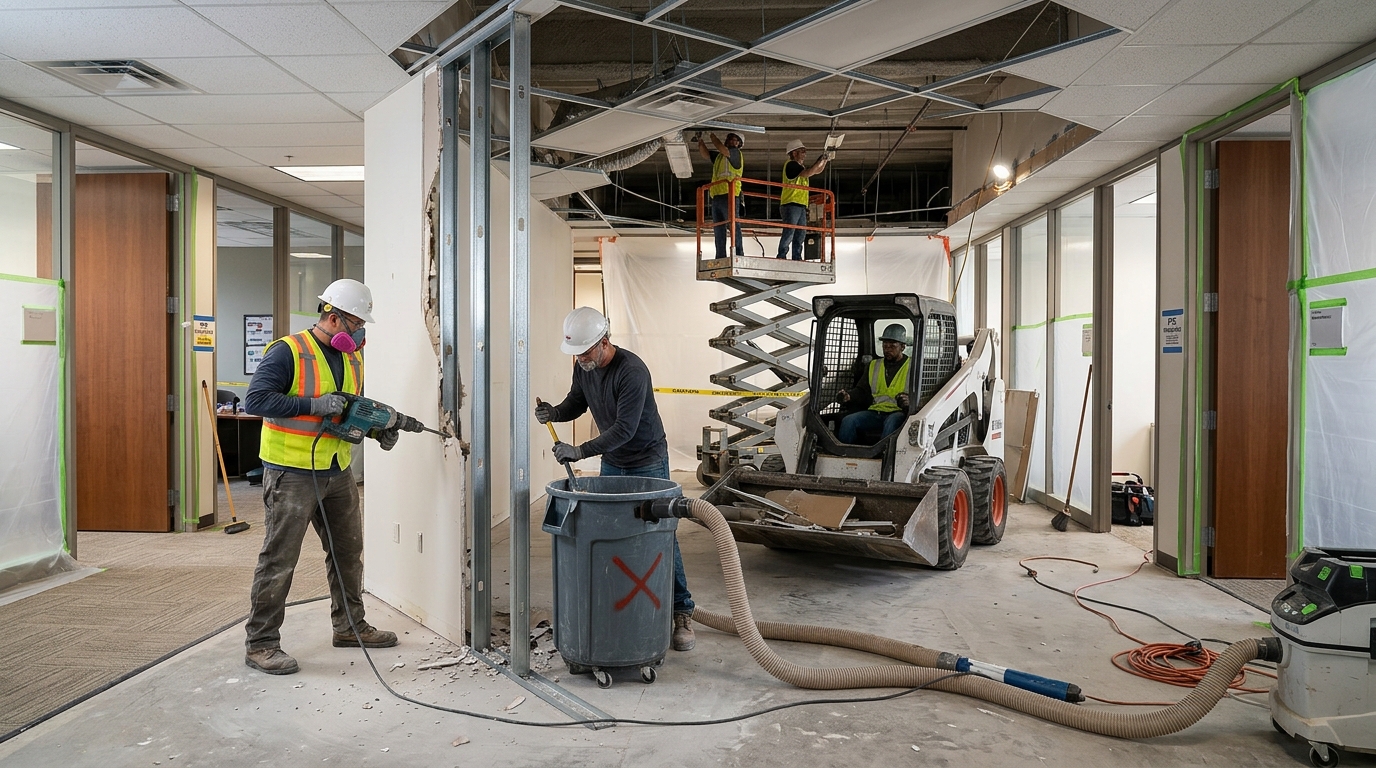
Equipment selection should follow the demolition method. Selective interior work may use hand tools, demolition hammers, saws, floor scrapers, carts, scissor lifts, compact skid steers, mini excavators, dust extractors, and negative-air machines. Concrete or heavier removals may require breakers, saw-cutting equipment, larger excavators, attachments, cranes, or lifting equipment.
For each item, consider rental or ownership cost, mobilization, delivery and pickup, operator cost, fuel, consumables, attachments, maintenance, and expected duration. Duration matters. A machine with a low daily rate can become expensive if restricted work hours or poor debris access double the number of days on site. Equipment should be tied to production and sequence, not added as a flat allowance. Also verify whether the building can physically accommodate the equipment. Door widths, elevator capacities, slab loading, ceiling heights, and indoor-emission restrictions can change the means and methods.
Step 5: Calculate Debris Hauling and Disposal
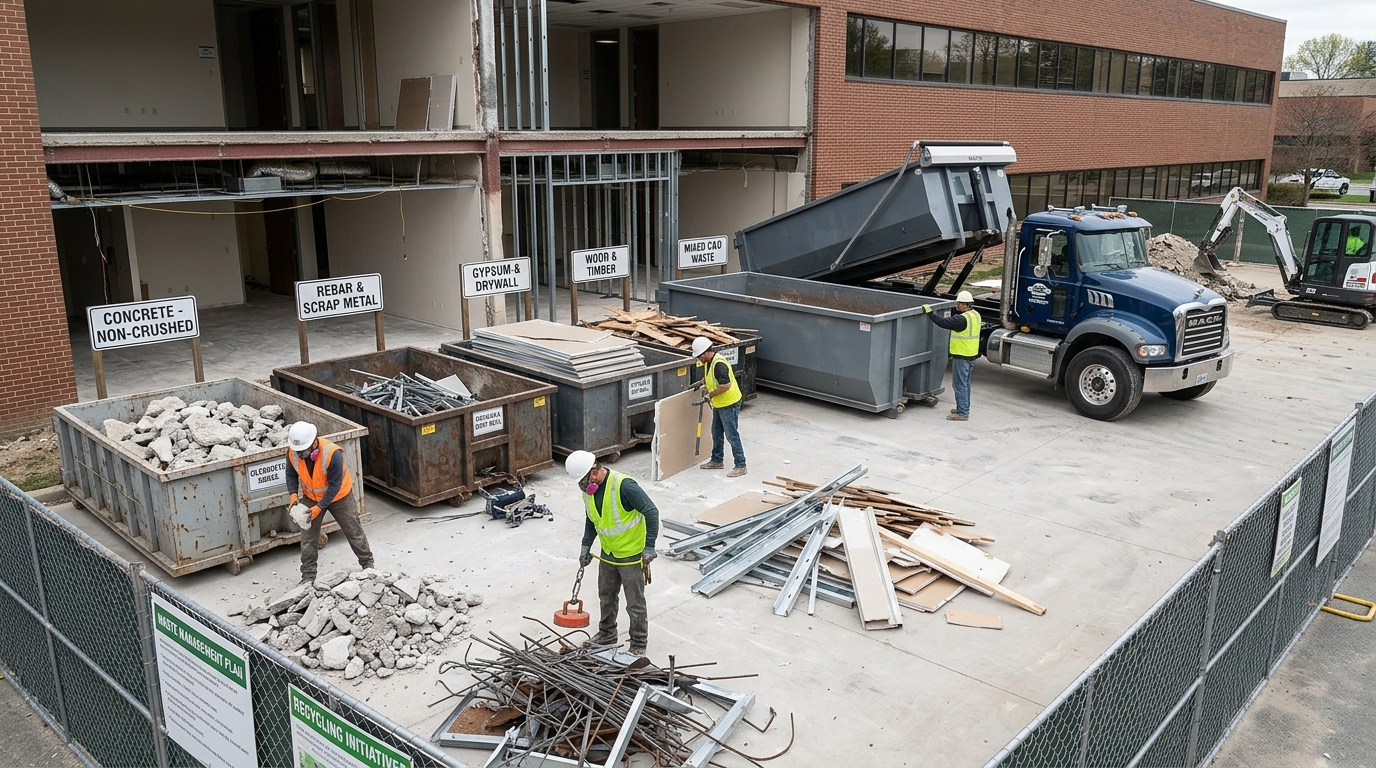
Disposal is a separate estimating exercise, not an afterthought. Convert demolition quantities into expected debris volume or weight, then separate the waste streams. Common categories include mixed C&D debris, concrete, masonry, gypsum, wood, metal, carpet, ceiling tile, and salvaged materials. Different materials may go to recycling facilities, transfer stations, crushers, scrap yards, or landfills.
A useful formula is:
Disposal cost = hauling + container rental + tipping fees + special handling − confirmed salvage credits
Estimate dumpsters or truckloads based on container capacity, weight limits, debris density, and the fact that broken material occupies more space than it did in place. Heavy concrete may hit a truck's legal weight limit before the container is full, while lightweight ceiling tile may fill it by volume first.
Haul distance also matters. Include travel time, truck cycle time, waiting time, loading time, and restrictions on dumpster exchanges. The EPA encourages reducing, reusing, salvaging, and recycling construction and demolition materials where practical. Separating concrete or metals can reduce landfill volume, but the estimator should still include the labor and handling required to sort those streams.
Step 6: Account for Protection, Hazards, and Temporary Work
Selective demolition often requires significant effort to protect what remains. Depending on the project, include floor protection, temporary walls, plastic containment, negative-air equipment, HEPA filtration, temporary egress, signage, lighting, shoring, barricades, weather protection, vibration controls, or daily cleaning.
Hazardous materials require separate attention. For many commercial, institutional, and industrial renovation or demolition projects, EPA asbestos rules require a thorough inspection of the affected area and may impose notification and work-practice requirements. State and local rules may add additional obligations. Do not bury unknown hazardous-material risk inside a normal demolition unit rate. Identify surveys, abatement, testing, or licensed specialty work separately and state the assumption clearly.
Step 7: Build the Final Selective Demolition Estimate
After the takeoff, labor, equipment, and disposal calculations are complete, assemble the estimate so it can be checked quickly.
A practical cost build-up is:
Direct demolition labor
+ equipment and tools
+ hauling and disposal
+ protection and temporary work
+ subcontractors and specialty services
+ permits, fees, and project-specific indirect costs
= direct project cost
Then apply the company's required overhead, profit, bonds, insurance, escalation, and contingency according to the bid strategy. Avoid using one blended square-foot rate as the final bid basis. Current demolition estimating guidance treats cost per square foot more appropriately as a conceptual or reasonableness check rather than a substitute for itemized quantities, productivity, equipment, and disposal. Selective work can vary significantly even between spaces of the same size.
Example: Commercial Interior Selective Demolition
Assume a tenant-improvement project requires removal of partitions, acoustic ceilings, flooring, doors, plumbing fixtures, and selected MEP components. Measure each scope independently, then apply production rates to determine labor hours. Assign equipment to the work that needs it, such as a floor scraper for resilient flooring and a scissor lift for ceiling removal. Convert debris into expected containers or loads and separate metals where salvage is practical.
Next, add dust containment, protection of occupied corridors, scheduled elevator use, daily cleanup, and final hauling. If an asbestos survey has not been provided, identify abatement as excluded or subject to the project documents rather than silently carrying unknown risk. This produces a bid that can be reviewed line by line and revised quickly when an addendum changes the demolition limits.
Common Selective Demolition Estimating Mistakes
The most common mistake is missing scope at the interface between demolition and new construction. Other frequent problems include using one production rate for every material, forgetting debris-handling labor, overlooking temporary protection, assuming unlimited site access, omitting MEP disconnects, failing to review addenda, and pricing disposal without checking material weight or haul distance.
Another costly error is treating every note labeled “remove” the same way. “Remove,” “remove and salvage,” and “remove and reinstall” create different labor, storage, protection, and replacement responsibilities. Before submitting the bid, compare the estimate against the drawings one more time. Make sure every major quantity has a labor method, every labor activity has the necessary equipment, and every demolished material has a disposal destination.
Why Detailed Demolition Estimating Improves the Bid
A detailed selective demolition estimate does more than produce a price. It creates a documented plan for the work. Contractors can see where labor is concentrated, which scopes create disposal risk, which equipment controls the schedule, and which assumptions need clarification before award. It also makes bid revisions easier. If the owner keeps a partition, changes a finish, adds another demolition area, or changes phasing, the estimator can update the affected line items instead of rebuilding a lump-sum price.
If your team needs help measuring demolition quantities, pricing labor and equipment, or organizing hauling and disposal, BidAccurate demolition estimating services can turn drawings and specifications into a reviewable demolition takeoff and cost estimate.
Final Takeaway
Accurate selective demolition estimating starts with scope clarity and ends with a transparent cost build-up. Measure what is being removed, price labor from realistic productivity, match equipment to the demolition method, calculate debris by material and destination, and include the protection required to preserve everything that remains.
When those pieces are separated instead of hidden inside one square-foot rate, the estimate is easier to review, defend, revise, and use for competitive bidding.